How to Sync RGB Lights With Your Screen?
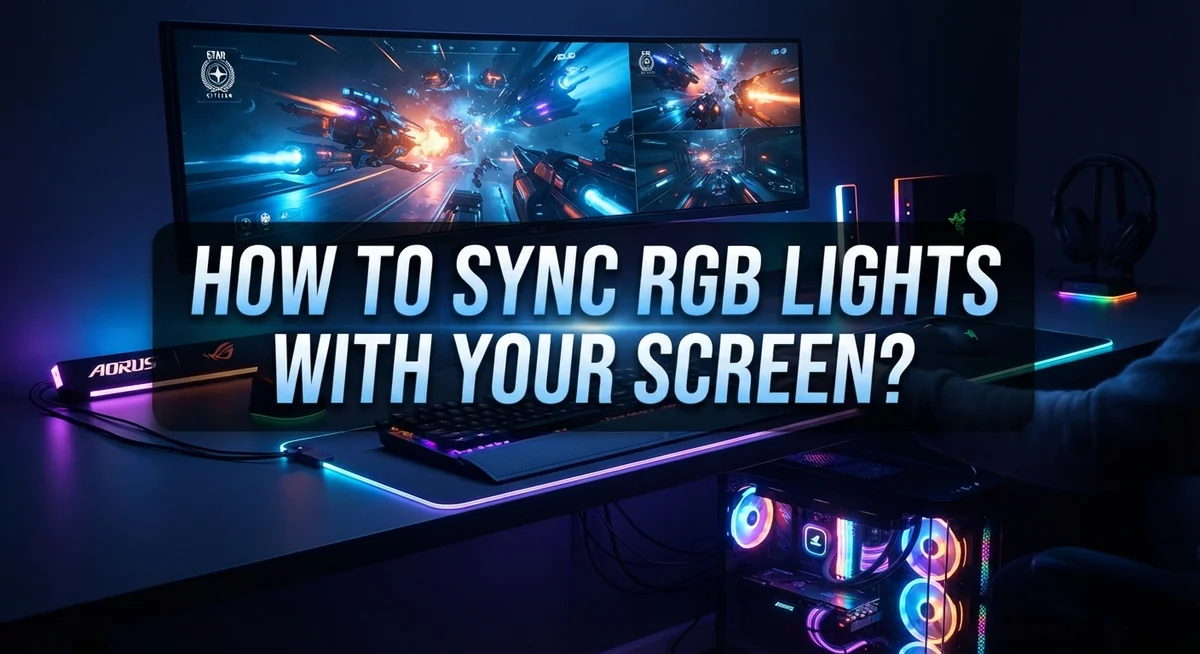
Have you ever watched your screen explode with color, only to wish your room did the same? That is exactly what RGB light syncing does. It turns your gaming setup or home office into an immersive light show that matches every scene, game, or song.
Syncing RGB lights with your screen sounds like a tech trick reserved for experts. But it is actually simple once you understand the basics.
Your lights read colors straight from your display. Then they mirror those colors in real time. The result feels like a movie theater effect, right in your own room.
This guide walks you through the entire process. You will learn how screen syncing software works and why brands like Philips Hue, Govee, and Lian Li support this feature.
We will also cover common mistakes people make during setup. Things like poor surface prep or clashing apps can ruin your experience fast.
By the end, you will know exactly how to sync your lights with confidence. No guesswork. No frustration. Just a smooth, colorful upgrade to your space.
In a Nutshell
Here is a quick summary to help you get started fast.
-
Remove old software first. Uninstall any existing RGB control apps before installing new syncing tools. This prevents conflicts that stop your lights from working properly.
-
Pick the right syncing software. Tools like SignalRGB offer a free “Screen Ambience” feature. This lets your lights read colors directly from your screen.
-
Prep your surfaces well. Clean areas with isopropyl alcohol before sticking on LED strips. Dry, smooth surfaces help strips stay in place longer.
-
Check your wiring carefully. Send HIGH signals to the correct color channels. Connect the negative lead to the anode for proper function.
-
Avoid running multiple RGB apps together. This is one of the most common mistakes people make. It often causes lights to flicker or stop syncing.
-
Confirm your brand works with sync features. Brands like Philips Hue, Govee, and Lian Li support screen syncing. Always check compatibility before setup.
Follow these steps, and your room will match your screen in no time.
How Screen-Syncing RGB Lights Works
Screen syncing RGB lights work through a simple capture and color matching system. Your computer runs software that constantly reads the colors displayed on your monitor. The software then sends those exact colors to your RGB lights in real time.
Here’s how the process unfolds. The syncing software takes a screenshot of your screen multiple times per second. It analyzes the dominant colors in different areas of your display. Your RGB lights then receive signals to match those colors instantly.
The software acts as a bridge between your screen and your lights. It translates visual information into color commands that your RGB devices understand. This happens so fast that the color changes feel immediate and smooth.
Most syncing tools use screen capture technology to grab color data. They focus on specific screen regions or average out the overall display color. You can usually customize which areas matter most to you.
The connection works through your computer’s USB ports or wireless connections. Your RGB devices receive digital signals that tell each light which color to display. Red, green, and blue channels receive individual brightness levels to create any color you want.
Timing is crucial for smooth syncing. The software refreshes color commands frequently to keep your lights perfectly matched with screen content. Any delay between what you see and what your lights show becomes noticeable.
Different software solutions offer varying levels of control. Some let you sync specific device zones separately. Others sync your entire setup as one unified system. The core concept stays the same: capture display colors and mirror them onto your physical lights instantly.
What You Need Before Getting Started
Before you start syncing RGB lights with your screen, you need a few essential items in place. Let’s break down what matters most.
First, you need compatible RGB lights. Check if your existing lights support screen syncing features. Brands like Philips Hue, Govee, and Lian Li work well with most syncing software. If you don’t have RGB lights yet, look for ones with wireless or USB connectivity options.
Second, your computer matters. You need a desktop or laptop with enough processing power to run syncing software smoothly. The software captures your screen colors constantly, so older machines might struggle. Make sure your system has at least 4GB of RAM for reliable performance.
Third, clear your existing software. Remove any old RGB control applications from your computer before installing new syncing tools. Running multiple RGB apps at once causes conflicts and crashes. This is one of the most common mistakes people make during setup.
Fourth, prepare your installation space. If you’re adding new LED strips, clean your surfaces with isopropyl alcohol first. Dry the area completely. Smooth, clean surfaces help strips stick properly and last longer.
Fifth, gather basic tools. You might need a USB cable, power adapter, or wireless receiver depending on your lights. Check your light’s manual for specific requirements.
Finally, ensure good internet or USB connection. Stable connectivity keeps your lights syncing smoothly with your screen. Weak connections cause lag and color mismatches.
Once you have these items ready, you’re prepared to move forward with confidence and avoid common setup problems.
Preparing Your Setup: Removing Conflicting Software
Running multiple RGB control applications at the same time creates serious conflicts. Your lights may flicker, freeze, or stop responding entirely. The software programs fight for control over your devices, causing unpredictable behavior.
Start by identifying what’s installed on your computer. Check your Programs and Features list in Windows or Applications folder on Mac. Look for any RGB control software from your light manufacturers. Common names include brand specific apps and generic lighting control tools.
Uninstall each program completely. Don’t just close it. Go to your system settings and remove it entirely. This prevents background processes from running without your knowledge. Some software leaves behind files even after uninstalling, so restart your computer after removal.
Check your startup programs next. Many RGB applications launch automatically when you boot up. Open your Task Manager or System Preferences to see what runs on startup. Disable any RGB related programs from launching automatically. This gives your new syncing software a clean slate to work with.
Look in your system tray for any hidden RGB applications. Right click on the taskbar and check what’s running in the background. Close anything related to your old lights or control software.
Restart your computer completely before installing new software. A fresh restart ensures all old processes stop running. This prevents conflicts when you set up your screen syncing application.
Check your browser extensions too. Some RGB control software installs browser tools. Remove any lighting related extensions from your web browser.
Once your system is clean, you’re ready to install dedicated syncing software. Your new application will have full control over your RGB devices without interference.
Step-by-Step: Installing and Configuring Sync Software
Start by downloading the sync software from the official website of your RGB light manufacturer. Make sure you download the version that matches your operating system, whether that’s Windows or Mac.
Run the installer file once the download completes. Follow the on screen prompts carefully. The installation wizard will guide you through each step. Accept the license agreement and choose your installation folder. Most software installs to your Program Files directory by default.
Launch the software after installation finishes. You’ll see a dashboard with various control options. Connect your RGB lights to your computer using USB cables or wireless connection, depending on your device type. The software should detect your lights automatically within a few seconds.
Navigate to the settings menu to configure your specific RGB devices. Select your light model from the available options. Some software allows you to add multiple devices if you have several RGB products. Arrange them in the order they appear in your setup.
Enable the screen capture or ambience mode feature. This is the core function that syncs your lights with your screen colors. Look for buttons labeled “Screen Ambience,” “Screen Mirror,” or “Display Sync.” Click to activate this mode.
Adjust the sensitivity and refresh rate settings. Higher sensitivity means your lights respond more dramatically to color changes. Slower refresh rates use less computer power but may feel slightly delayed.
Test the sync by opening a colorful video or image. Your lights should change colors to match what appears on your screen. If colors seem off, return to settings and fine tune the color calibration options.
Save your configuration before closing the software. Most applications remember your preferences automatically for future sessions.
Enabling Screen Ambience and Fine-Tuning Colors
Once your sync software is installed and running, you need to enable the screen ambience feature. This feature captures the colors from your display in real time. Look for a button or toggle labeled “Screen Ambience,” “Screen Capture,” or “Ambient Mode” in your software dashboard.
Click to activate this feature. Your software will ask for permission to capture your screen. Grant this permission so the application can read what colors appear on your monitor. Without screen capture access, the sync won’t work at all.
Fine-tuning the colors comes next. Most software offers sensitivity sliders that control how strongly your lights react to screen changes. A higher sensitivity means your lights change quickly and dramatically. A lower sensitivity creates smoother, more gradual color transitions. Start with medium sensitivity and adjust based on what looks best to you.
Check the refresh rate setting in your software. This controls how often your lights update their colors. A faster refresh rate keeps lights perfectly matched to your screen but uses more system resources. A slower refresh rate saves processing power but may create slight delays between screen and light changes.
Test your setup by opening colorful content. Play a video, open a photo gallery, or load a vibrant website. Watch how your lights respond to different colors and scenes. If the colors look off, adjust your sensitivity and refresh rate settings again.
Some software lets you choose which areas of your screen affect the lights. You might sync only to the center of your display or the edges. Experiment with these options to find your preferred setup. Save your settings once everything looks right so they apply automatically next time you start your computer.
Proper LED Strip Installation and Wiring Basics
LED strip installation forms the foundation of your entire screen sync system. You need a clean, dry surface to make everything work properly. Dust and oils prevent the adhesive backing from sticking securely, which causes strips to fall or lose connection over time.
Start by cleaning your target surface with isopropyl alcohol on a soft cloth. Wipe the area thoroughly and let it dry completely before touching it again. This removes fingerprints, dust, and residue that interfere with adhesion.
Measure your space carefully before peeling the backing. Most LED strips come with adhesive already applied. You cannot reposition them easily once attached, so plan your route first. Mark corners and curves with a pencil if needed.
When you’re ready to install, peel back a small section of the backing and press the strip firmly into place. Work slowly along the entire length, pressing as you go. Apply extra pressure at corners and edges where peeling is most likely.
Now focus on the wiring connections. Your RGB strip has multiple leads: red, green, blue, and a common lead (usually black or white). The common lead connects to negative power, while the color leads receive power signals.
Check your specific strip’s documentation for correct polarity. Reversed connections won’t damage equipment, but your lights simply won’t work. Secure all wires with cable clips or adhesive management solutions to prevent accidental disconnections.
Test power delivery before finalizing everything. A quick power test confirms your connections are correct. Once verified, you can proceed confidently to software installation knowing your hardware foundation is solid and reliable.
Common Mistakes to Avoid
Running multiple RGB control applications at the same time causes serious conflicts. Your lights may flicker, freeze, or stop responding entirely. Before installing new sync software, uninstall all previous RGB programs from your computer completely. Check your system tray and startup programs to remove any lingering applications.
Incorrect LED polarity is another critical mistake. RGB strips have specific positive and negative connections. If you reverse these connections, your lights won’t display the correct colors. Always check your strip’s documentation before connecting power. The color channels need HIGH signals while the anode requires negative connection. Double check twice before powering on.
Poor surface preparation leads to strips falling off your monitor or desk. Dust, dirt, and oils prevent adhesive from sticking properly. Clean your surface with isopropyl alcohol and let it dry completely. Rough or curved surfaces don’t work well for adhesive strips. Measure twice before peeling the backing and pressing down firmly.
Forgetting to enable screen capture mode is surprisingly common. Many users install the software but never activate the ambience feature. The sync won’t work without this step. Navigate to your software settings and look for “screen ambience,” “screen sync,” or “display capture” options. Enable this feature explicitly.
Ignoring refresh rate settings causes lag between your screen colors and light colors. If the refresh rate is too low, your lights won’t keep up with what you’re watching. Check your software settings and increase the refresh rate for smoother syncing. Test your setup with colorful videos to spot any delays.
Finally, avoid setting sensitivity too high. Overly sensitive lights react to every pixel change and create a distracting flickering effect. Start with medium sensitivity and adjust downward if flickering occurs.
Troubleshooting Sync and Connection Issues
When your RGB lights won’t sync with your screen, start by checking if multiple RGB control applications are running simultaneously. Close all existing RGB software before launching your syncing program. Conflicting applications prevent proper communication between your lights and display.
Next, verify that screen capture permissions are enabled. Your syncing software needs access to display your screen content. Check your operating system settings and grant the necessary permissions to the application.
Restart both your RGB lights and your computer. Power cycle your devices by unplugging them for 30 seconds, then reconnecting. This simple step resolves many connection problems that occur during software initialization.
Examine your USB connections carefully. Ensure cables are firmly seated in their ports. Try connecting to different USB ports on your computer. Sometimes a loose connection causes intermittent sync failures.
Update your syncing software to the latest version. Developers release updates that fix compatibility issues and improve performance. Check within the application settings for an update option.
Verify that your RGB devices are actually compatible with your chosen syncing software. Not all lights work with every application. Review the software documentation to confirm your specific device model is supported.
Check your firewall and antivirus settings. Security software sometimes blocks applications from accessing your display. Temporarily disable these programs to test if they’re causing the issue.
Reset your syncing software to default settings. Go to the preferences menu and select the reset or restore defaults option. This removes any conflicting configurations you may have created.
If problems persist, uninstall and reinstall your syncing software completely. Remove all related files during uninstallation, then download a fresh copy. This eliminates corrupted installation files that cause persistent sync failures.
Final Thoughts
Syncing RGB lights with your screen brings your setup to life. It turns a simple desk into an immersive experience. The glow matches your games, movies, and music in real time.
This process does not require advanced technical skills. Anyone can follow the steps and get great results. Patience during setup makes a big difference.
Your success depends on choosing quality software that fits your devices. SignalRGB works well for many brands. It offers a free way to test screen ambience features before committing further.
Remember that every setup is different. Your room lighting, monitor size, and device brands all affect the final look. Feel free to experiment with settings until you find what works.
Take time to explore different modes and effects. Some users prefer soft ambient glows. Others want vibrant colors that shift instantly with on screen action.
Regular maintenance keeps everything running smoothly. Check your connections every few months. Update your software when new versions become available.
Do not get discouraged if something does not work right away. Most sync issues have simple fixes. A quick restart or settings check often solves the problem.
Your RGB lighting setup can grow over time. Start small with one strip or panel. Add more devices once you feel comfortable with the basics.
The final result is worth the effort. A well synced RGB system adds energy and personality to your space. It transforms ordinary screen time into something more engaging.
Trust the process and enjoy the journey. Your perfect lighting setup is closer than you think. Small adjustments lead to big improvements in how your space feels and looks.
Frequently Asked Questions
Can I sync RGB lights if I have different brands?
Yes, you can sync RGB lights from different brands. Unified control software works across multiple manufacturers like Philips Hue, Govee, and Lian Li. The software captures your screen colors and sends commands to all connected devices simultaneously.
However, each brand uses different communication protocols. You need software that supports all your specific devices. Check the software’s compatibility list before downloading.
What if my RGB lights lag behind my screen colors?
Lag happens when your software can’t process colors fast enough. First, check your refresh rate settings in the syncing software. Lower the sensitivity level if it’s set too high.
Your USB connection speed also matters. Use a direct USB port instead of a hub. Update your syncing software to the latest version for better performance.
Do I need to uninstall my old RGB software?
Yes, absolutely. Running multiple RGB applications at once causes conflicts. Your lights may flicker, freeze, or not respond properly. Uninstall all previous RGB control programs completely before installing new syncing software.
Restart your computer after uninstalling. This clears any leftover processes that might interfere with your new setup.
Why isn’t my screen capture mode working?
Screen capture mode needs permission to access your display. Check your software settings and enable screen capture explicitly. Some antivirus programs block this feature, so verify your security settings aren’t interfering.
Restart both your RGB lights and computer. Then reopen your syncing software and activate the screen ambience feature again.

DK is the founder and lead writer at Smart Lighting Finds, where he helps readers discover the best lighting products through honest, hands-on reviews and in-depth comparisons. With a deep passion for home improvement and smart technology, DK is dedicated to making every lighting decision easier and brighter for his readers.