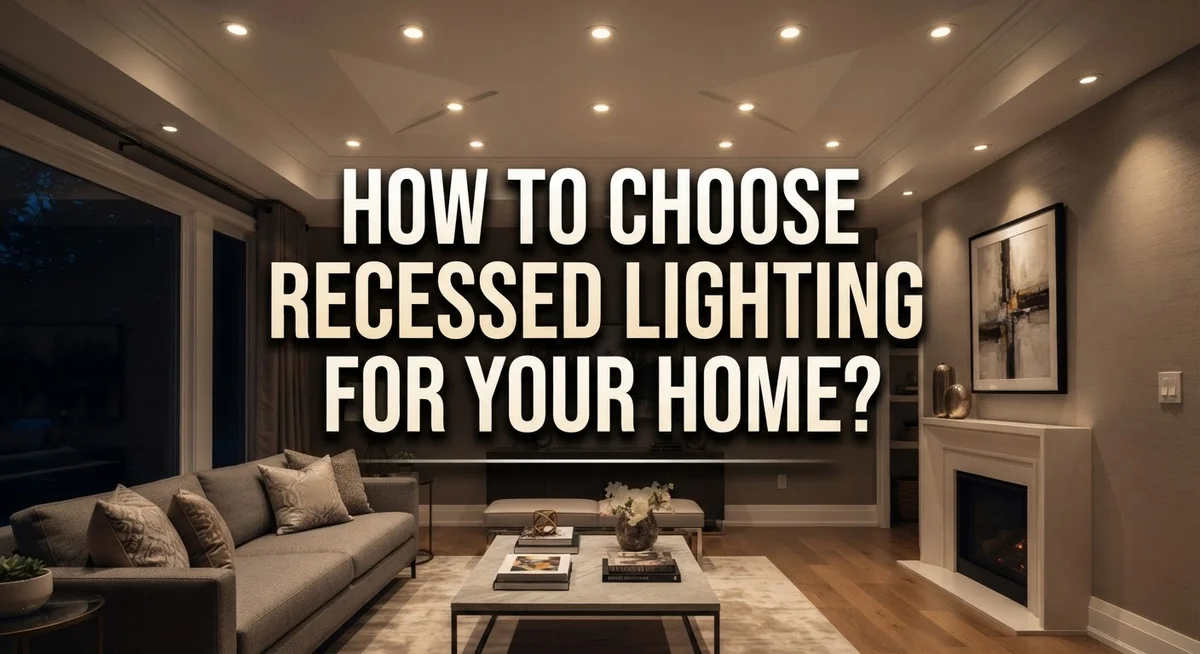
How to Choose Recessed Lighting for Your Home: A Complete Guide
Recessed lighting can transform your home. It gives every room a clean, modern look. But picking the right lights takes some planning.
Many homeowners feel unsure where to start. Should you pick 4 inch or 6 inch cans? What about trim style or bulb temperature? These small choices make a big difference.
Your ceiling height matters too. A room with low ceilings needs different lighting than one with tall, open spaces. Get this wrong, and your lighting can feel harsh or uneven.
This guide walks you through every step. You will learn how to measure your space correctly. We cover can sizes, trim types, and bulb options in simple terms.
You will also discover proper spacing rules for any room. We share tips for kitchens, living rooms, and other spaces. Plus, we point out common mistakes people make.
By the end, you will feel confident choosing recessed lighting. You will know exactly what your home needs. No guesswork required.
Let’s light up your space the right way.
In a Nutshell
Here is a quick summary to keep in mind as you shop for recessed lighting.
-
Check your ceiling height first. It should be at least 1.5 times the light’s diameter. This keeps the light spread even and natural.
-
Pick the right can size for each room. Smaller 3 to 4 inch lights work well for task lighting. Larger 4 inch or bigger cans give softer ambient light.
-
Kitchens do better with 6 inch cans. They offer more trim styles and spread light evenly across counters.
-
Space your lights properly. Keep fixtures 4 to 6 feet apart. Leave about 3 feet between lights and walls or cabinets.
-
Choose dimmable bulbs whenever possible. They let you adjust brightness for different moods and tasks.
-
Balance three light types: ambient, task, and accent. This mix creates a warm and functional space.
-
Avoid common mistakes like mismatched trims, harsh brightness, or poor spacing. These small errors can throw off your whole design.
Keep these points handy, and you will make smarter lighting choices for every room in your home.
Understanding Recessed Lighting: Sizes, Trims, and Terminology
Recessed lighting uses specific measurements and styles that you need to understand before making choices. The diameter of the can is your starting point. Most homes use 3, 4, 5, or 6 inch models. Smaller cans work well for tight spaces or accent lighting. Larger cans spread light more evenly across a room.
The trim is the visible ring around your light opening. It frames how light exits into your space. Different trim types create different effects. A baffle trim has ridges inside that reduce glare and work best for ambient lighting in kitchens or living areas. A reflector trim bounces light outward more efficiently. A wall wash trim angles light along walls to highlight texture or artwork.
Ceiling height directly affects your lighting choice. Use this simple rule: your ceiling height should be at least 1.5 times the light diameter. If your ceiling is 8 feet tall, use lights no larger than 5 inches. This prevents harsh shadows and uncomfortable brightness.
Spacing between lights follows a basic pattern. Install lights 4 to 6 feet apart for even coverage. Keep them at least 3 feet away from walls and cabinet edges. Poor spacing creates dark spots or overly bright zones.
Bulb temperature matters too. Warm white (2700K) feels cozy in bedrooms and living rooms. Cool white (4000K) works better in kitchens and bathrooms where you need clarity. Always choose dimmable bulbs so you control brightness levels throughout the day.
Understanding these terms helps you communicate clearly with installers and make informed decisions about what works in each room.
Assessing Your Ceiling Height and Room Layout
Your ceiling height is the foundation of any recessed lighting plan. This measurement determines which can sizes work best and how many fixtures you actually need.
Start by measuring from your floor to the lowest point of your ceiling. Write this number down. A standard rule applies here: your ceiling height should be at least 1.5 times the diameter of your light fixture. This means a 4 inch can needs a ceiling that is at least 6 feet high.
Higher ceilings give you more flexibility. You can use larger cans and space them farther apart. The light spreads more evenly across your room. Lower ceilings require smaller fixtures placed closer together to avoid dark spots.
Next, map out your room dimensions. Measure the length and width. Consider the layout of furniture, cabinets, and work areas. This helps you understand where light is actually needed most.
In kitchens, you want light over countertops and the sink area. In living rooms, you may prefer softer, more spread out illumination. Bathrooms typically need bright light around the mirror and vanity.
Pay attention to obstacles too. Beams, ductwork, or pipes in your ceiling can limit where you can place fixtures. Identify these before you finalize your plan.
Think about room traffic patterns as well. People move through spaces in specific ways. Placing lights along these natural paths creates better visibility and comfort.
Take photos of your ceiling from different angles. This helps you see potential installation challenges. Uneven ceilings or sloped areas in attics need special consideration.
Your ceiling height and room layout work together. They guide your entire lighting design and determine both the number of fixtures needed and their placement strategy.
Choosing the Right Can Size for Each Room
Recessed lighting comes in standard sizes ranging from 3 to 6 inches in diameter. Each size serves different purposes, so matching the right can to your room is essential.
3 inch cans work best for small spaces or accent lighting. They fit nicely in tight areas and create focused light beams. However, they produce less overall brightness than larger options.
4 inch cans offer a middle ground for most rooms. They provide good light coverage without overwhelming smaller spaces. Bedrooms, bathrooms, and living areas typically work well with 4 inch sizing.
5 inch cans give you more light output while staying relatively compact. These suit medium sized rooms that need balanced brightness.
6 inch cans are the preferred choice for kitchens and larger areas. They offer the widest trim variety and superior light distribution. Kitchens benefit most from 6 inch cans because they deliver ample light over countertops and work surfaces.
Here is a practical rule to follow: your ceiling height should be at least 1.5 times the light diameter. This prevents the fixture from looking cramped or casting harsh shadows.
For task lighting areas like kitchen islands or reading nooks, choose cans one size larger than you initially think. This ensures adequate brightness for detailed work.
In rooms with lower ceilings, stick with 3 or 4 inch cans. They maintain proper proportions and prevent visual clutter.
For rooms with vaulted or cathedral ceilings, 5 or 6 inch cans work beautifully. The extra height allows larger fixtures to shine without appearing out of place.
Consider your trim options too. Larger cans offer more trim styles, giving you better control over light direction and appearance. Measure your specific spaces before ordering, and you will avoid installation surprises.
Planning Fixture Spacing and Placement
Spacing your recessed lights correctly prevents dark spots and glare. The standard rule is simple: place lights 4 to 6 feet apart in most rooms. This distance keeps light even across your ceiling and floor.
Start by measuring your room width and length. Divide these numbers by your chosen spacing distance. This tells you how many fixtures you need. For example, a 12 foot by 14 foot room works well with lights spaced 5 feet apart.
Distance from walls matters too. Place your first light about 3 feet away from any wall or cabinet. This prevents harsh shadows along edges. The same rule applies near kitchen cabinets and bathroom vanities. Keeping lights away from walls creates softer, more balanced illumination.
In kitchens, position lights 3 feet from cabinet edges and 2 to 3 feet above countertops. This placement lights your work surfaces without creating shadows when you stand at the counter. For islands, space lights down the center line about 3 feet apart.
Consider your room’s purpose when planning. Task areas like kitchens need closer spacing than living rooms. Bedrooms benefit from slightly wider spacing for a softer feel. Hallways work best with 4 foot spacing to avoid gaps between light pools.
Account for ceiling obstacles too. Avoid placing lights directly above vents, pipes, or electrical boxes. These obstacles make installation difficult and can damage your fixtures.
Draw a simple grid on paper showing your ceiling layout. Mark where each light goes. This visual plan helps installers understand your vision and catches spacing problems before work begins. Proper spacing creates professional results and ensures your lighting serves its intended purpose effectively.
Selecting Trim Styles and Bulb Temperature
Trim styles and bulb temperature work together to create the right lighting atmosphere in your home. These two choices affect both how your lights look and how they perform.
Trim styles come in several options. Baffle trims have ridges inside that reduce glare and work best for ambient lighting in 4 inch or larger fixtures. Reflector trims bounce light outward more efficiently and suit task lighting areas. Open trims offer a clean, minimalist look but show the bulb more directly. Pinhole trims create a subtle, modern appearance with a smaller opening. Wall wash trims direct light along walls to highlight textures or artwork.
Match your trim choice to your ceiling color. Light colored ceilings pair well with reflector trims since they bounce light effectively. Darker ceilings benefit from baffle trims that minimize shadows. Consider your room’s style too. Contemporary spaces often use pinhole or open trims, while traditional rooms suit decorative trim rings.
Bulb temperature measures light color in Kelvin units. Warm light (2700K) creates a cozy, relaxing feel and works well in bedrooms and living areas. Neutral white (3000K to 4000K) balances warmth and brightness, making it ideal for kitchens and bathrooms. Cool white (5000K or higher) feels energetic and clinical, better for garages or workspaces.
Always choose dimmable bulbs for your recessed lights. This flexibility lets you adjust brightness and temperature throughout the day. Dimmable options give you control over your home’s mood and energy use. Test different temperatures in your space before committing to all fixtures. Lighting perception changes based on time of day and surrounding colors.
Balancing Ambient, Task, and Accent Lighting
Recessed lighting works best when you balance three distinct types of light in your home. Each type serves a different purpose, and combining them creates a comfortable, functional space.
Ambient lighting provides general illumination throughout your room. This is your base layer of light. Baffle trims work well for ambient lighting because they reduce glare and create soft, even coverage. You want this light to feel welcoming without being too bright. Most rooms need ambient light at a lower intensity so you can adjust it up or down with dimmers.
Task lighting focuses on specific work areas. Kitchens need task lighting over countertops and islands. Bathrooms benefit from task lighting around mirrors. Reading nooks and desks require focused beams. Task lights are typically brighter than ambient lights. Position them directly above where you need to see clearly. Smaller can sizes work here, but remember that larger cans deliver better light output for detailed work.
Accent lighting highlights architectural features or artwork. This light draws attention to specific elements in your room. Use accent lights to showcase a painting, bookshelf, or textured wall. Accent lighting is usually dimmer than both ambient and task lighting.
Here’s the practical approach: start by identifying which areas need task lighting. Add ambient lighting around the rest of the room. Finally, consider accent lighting for any features you want to emphasize. This layered approach prevents over lighting while keeping your space functional.
Use dimmable bulbs for all three types. Dimmers let you adjust each layer independently. This flexibility transforms your room from bright and energetic to soft and relaxing. Your lighting needs change throughout the day, and dimmers make that simple.
Common Mistakes to Avoid When Planning Recessed Lighting
Many homeowners make predictable mistakes when planning recessed lighting. These errors lead to poor lighting quality and wasted money. Understanding what to avoid saves you time and frustration during installation.
Ignoring ceiling height is a common error. Your ceiling height determines which fixture sizes work best. If you skip this measurement, you’ll end up with lights that look wrong or create harsh shadows. Always measure first, then choose your fixture size based on that number.
Poor spacing creates uneven lighting throughout your room. Placing lights too far apart leaves dark zones. Placing them too close together wastes energy and creates glare. Sketch your ceiling layout on paper before making any purchases. This simple step prevents expensive mistakes.
Choosing non-dimmable bulbs limits your flexibility. Dimmable bulbs let you adjust light levels for different activities and times of day. Non-dimmable options feel rigid and one-dimensional. Always select dimmable bulbs from the start.
Mismatching trim styles with your ceiling causes visual problems. Shiny trim on a matte ceiling looks out of place. Matte trim on a glossy ceiling appears dull. Choose trim finishes that complement your ceiling surface.
Neglecting to balance all three lighting types creates an incomplete plan. Many people focus only on ambient light and forget task and accent lighting. Your room needs all three to function properly. Plan for each type during the design phase.
Failing to account for room obstacles leads to fixture placement issues. Vents, beams, and structural elements matter. Check your ceiling carefully before finalizing your layout. Mark these obstacles on your sketch to avoid them during installation.
When Recessed Lighting Isn’t the Right Fit
Recessed lighting works wonderfully in many homes, but it isn’t always the best choice for every space. Understanding when to skip recessed fixtures helps you make smarter lighting decisions.
Vintage and historic homes often struggle with recessed lighting. These older buildings typically have plaster ceilings or delicate crown molding that recessed lights damage during installation. Shallow ceiling cavities in older construction don’t accommodate standard recessed cans either. Semi flush fixtures or wall sconces preserve the character of these homes much better.
Low ceilings present another challenge. If your ceiling sits below 8 feet, recessed lights can feel too close to your head and create an uncomfortable atmosphere. The rule is simple: your ceiling height should be at least 1.5 times the light diameter. A low ceiling violates this guideline easily.
Rooms with heavily textured or ornate ceilings aren’t ideal either. Popcorn ceilings, coffered designs, or detailed crown molding make recessed lighting installation difficult and visually awkward. These ceiling styles look better with pendant lights or chandeliers instead.
Rental properties pose practical problems. Recessed lighting requires permanent ceiling modifications that landlords typically won’t allow. Renters need portable lighting solutions like floor lamps or plug in track systems.
Budget constraints matter too. Recessed lighting demands professional installation, electrical work, and multiple fixtures to light a room properly. This adds up quickly. If your budget is tight, consider alternatives first.
Spaces with exposed beams or cathedral ceilings work poorly with recessed lights. These architectural features look best with surface mounted fixtures that complement their style.
Assess your ceiling type, height, and home age before committing to recessed lighting. Sometimes other options create better results and save you money and hassle.
Final Thoughts
Choosing recessed lighting comes down to a few key decisions. You need to think about size, trim, bulb temperature, and ceiling height together.
These factors work as a team. Getting one wrong throws off your entire lighting plan.
Start with your ceiling height. This single measurement guides almost every other choice you make.
Remember the basic rule: your ceiling height should be at least 1.5 times the light diameter. Skip this step, and your lighting will look wrong no matter what fixtures you pick.
For kitchens, six inch cans work best. They offer more trim options and spread light evenly across countertops and work areas.
Spacing matters just as much as size. Keep your lights four to six feet apart, and leave three feet of space from walls or cabinets.
This spacing prevents dark spots and keeps your room evenly lit.
Trim selection shapes how your light actually looks in the room. Baffle trims work great for ambient lighting when you use fixtures four inches or larger.
Always choose dimmable bulbs. They give you control over brightness for different times of day and different activities.
Before buying anything, walk through your space. Check your ceiling height, note your room dimensions, and think about how you use each area.
Some homes simply don’t suit recessed lighting. Vintage properties, low ceilings, and textured surfaces often work better with other fixture types.
Take your time with this decision. The right recessed lighting setup makes a real difference in how your home feels every single day.
Frequently Asked Questions
What size recessed lights do I need?
Size depends on your room’s purpose. Three to four inch lights work best for task lighting in specific areas like above a desk or bathroom mirror. Four inch and larger fixtures suit ambient lighting that fills your whole room with soft glow.
Your ceiling height matters most. The basic rule is simple: your ceiling height should be at least 1.5 times the light diameter. So if you have 8 foot ceilings, stick with lights no larger than 5 inches.
For kitchens, six inch cans are the smart choice. They offer better trim variety and distribute light more evenly across countertops and work surfaces.
How far apart should I space recessed lights?
Space your lights 4 to 6 feet apart for even coverage. This prevents dark zones and keeps your lighting balanced throughout the room.
Keep lights at least 3 feet away from walls and cabinets. This distance prevents harsh shadows and allows light to spread naturally into corners.
Uneven spacing creates visible problems. Dark spots appear where lights are too far apart, while overlapping light from closely spaced fixtures wastes energy and looks odd.
Can I use recessed lighting in every room?
Not always. Recessed lighting works poorly in vintage and historic homes where surface mounted fixtures match the original design better.
Low ceilings under 8 feet make recessed installation difficult. Heavily textured ceilings, popcorn finishes, and ornate designs also clash with recessed lights.
Rooms with exposed beams or cathedral ceilings present challenges too. Rental properties may have restrictions on ceiling modifications. Consider semi flush mounts or sconces as alternatives in these spaces.
Should I choose dimmable bulbs?
Yes, absolutely. Dimmable bulbs give you flexibility to adjust light levels for different activities and times of day.
Non dimmable bulbs lock you into one brightness level, limiting your control over the room’s atmosphere.
What trim style should I pick?
Baffle trims work well for ambient lighting in four inch and larger fixtures. They reduce glare and create softer, more diffused light.
Match your trim finish to your ceiling color and texture. Shiny trim on a matte ceiling looks out of place and disrupts the visual flow of your room.

DK is the founder and lead writer at Smart Lighting Finds, where he helps readers discover the best lighting products through honest, hands-on reviews and in-depth comparisons. With a deep passion for home improvement and smart technology, DK is dedicated to making every lighting decision easier and brighter for his readers.