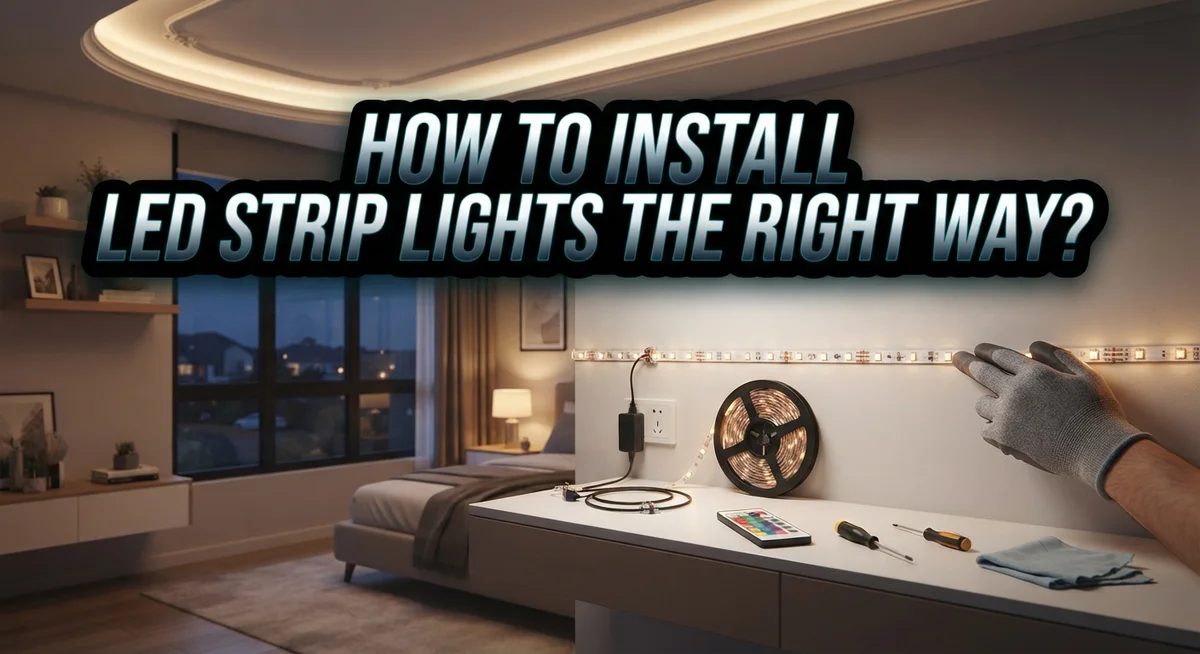
How to Install LED Strip Lights the Right Way?
LED strip lights can transform any room in minutes. They add warm light under cabinets, behind TVs, or along stairs. But a poor installation can lead to flickering, weak adhesion, or even damaged strips.
Many people rush this process. They skip surface prep or ignore power supply limits. This often causes lights to fall off walls or burn out fast.
Good news: installing LED strips the right way is simple once you know the steps. You just need the right plan and a little patience.
This guide walks you through everything. You will learn how to check your components first. We will cover how to test your layout before sticking anything down. You will also discover why power off at the breaker matters for safety.
We will explain mounting options like adhesive backing, clips, and aluminum channels. You will learn how to cut strips correctly without damaging them.
By the end, you will know how to avoid the most common mistakes people make. Your LED strips will look clean, stay secure, and last for years.
In a Nutshell
Here is a quick summary to help you install your LED strip lights the right way.
-
Check your power supply first. Your LED load should never go above 80% of the power supply’s maximum wattage. This keeps your system safe and prevents overheating.
-
Prep your surface well. Clean and flat surfaces help the adhesive stick properly. Skipping this step often leads to strips falling off later.
-
Do a mock installation. Lay out your strips before sticking them down. This helps you spot problems early and plan your cuts.
-
Cut only at copper pads. Use sharp scissors and cut in the right spots. Cutting in the wrong place can damage your strip.
-
Turn off power before you start. Always switch off your circuit breaker before installation. This protects you and your equipment.
-
Choose the right mounting option. Adhesive backing works for quick jobs. Aluminum channels offer better durability for long term use.
Follow these points, and your LED strip installation will go smoothly from start to finish.
Understanding LED Strip Light Basics: Voltage, Power, and Specs
LED strip lights run on electrical power, and understanding the basics helps you install them safely. Most LED strips use either 12 volts or 24 volts. Check your strip’s packaging to know which voltage you need.
Power consumption matters most. Each LED strip draws a certain amount of watts. Your power supply must handle this load without strain. The rule is simple: your LED load should never exceed 80% of your power supply’s maximum wattage. This protects your system and prevents overheating.
For example, if your power supply can deliver 100 watts, your LED strips should use no more than 80 watts. This 20% safety margin keeps everything running cool and reliable.
Length affects your power needs. Longer strips consume more power. Check the specifications to see how many watts per meter or per foot your strips use. Some strips let you connect multiple sections together, but there is a maximum run length. Going beyond this length causes voltage drop, which makes distant LEDs dimmer than those near the power source.
Brightness and color matter too. Lumens measure how bright your strips are. Color temperature tells you if the light is warm or cool. CRI (Color Rendering Index) shows how accurately colors appear under your lights. These specs help you pick strips that match your space and needs.
Copper pads are cutting points. LED strips have marked copper pads where you can safely cut them. Never cut between these pads, as this damages the circuitry. Understanding these basics before installation prevents mistakes and ensures your lights work perfectly for years.
Tools and Components You’ll Need Before You Start
Before you start installing LED strip lights, gather the right tools and components. Having everything ready makes the job faster and prevents frustration.
You will need basic hand tools first. A sharp pair of scissors or a utility knife helps you cut strips cleanly at the copper pads. A measuring tape lets you plan your layout accurately. A level ensures your strips sit straight on walls or ceilings. Cleaning supplies matter too. Grab rubbing alcohol and a clean cloth to prepare your surface before adhesion.
Next, check your power supply. The power supply converts standard electricity into the right voltage for your LED strips. Match the voltage of your strips to your power supply. A 12V strip needs a 12V power supply. A 24V strip needs a 24V power supply. Never mix these up, as it damages your lights.
Calculate your total wattage carefully. Add up the watts of all LED strips you plan to install. Your power supply must handle this load without exceeding 80% of its maximum capacity. This safety margin keeps your system running smoothly and extends its lifespan.
You will also need mounting materials. Adhesive backing comes standard on most strips. Mounting clips offer a reusable option if you want to remove strips later. Aluminum channels provide the most durable support and help with heat dissipation.
Finally, grab a power cord or plug connector if your system requires one. Some LED strips come with connectors already attached. Others need you to add them separately. Check your specific strip type before starting.
Having these tools and components ready means your installation goes smoothly without unexpected stops or delays.
Preparing Your Surface and Planning the Layout
Before you stick down your LED strip lights, spend time planning your layout. This step prevents mistakes and saves you from ripping up adhesive later.
Start by measuring your installation area carefully. Use a tape measure and mark key points where corners or obstacles exist. Draw a simple sketch on paper showing where the strips will go. This visual guide keeps you on track during installation.
Next, check your surface condition. LED strips need clean, flat surfaces to stick properly. Dust, dirt, or paint residue prevents adhesive from bonding. Wipe down the area with a dry cloth first, then use a mild cleaning solution if needed. Let the surface dry completely before proceeding.
Consider your power supply location while planning. Your power cord needs to reach an outlet without stretching across walkways or creating safety hazards. Plan your strip layout so the plug end sits closest to your power source.
Test your layout before committing. Lay the strips along your planned path without removing the backing. This mock installation shows you exactly how the strips will look. Check for gaps, overlaps, or awkward angles. Adjust your plan if something doesn’t look right.
Mark cutting points if your strips need to bend around corners. Use copper pads as your only cutting locations. These marked spots on the strips are designed for safe cutting. Never cut strips randomly, as this damages the electrical components.
Think about expansion and contraction too. If your installation area experiences temperature changes, leave tiny gaps between strip sections. This prevents buckling or lifting as materials expand and contract.
Taking time with planning and surface preparation makes the actual installation quick and successful. You’ll avoid frustration and achieve professional looking results.
Step-by-Step Installation Process
Start by doing a component check. Lay out all your pieces and verify everything arrived in good condition. This includes your LED strips, power supply, connectors, and mounting materials.
Next, perform a mock installation. Arrange your strips along the planned path without removing any backing. This test run lets you spot problems before permanent placement. Check that your strips reach all corners and that your power supply location works well.
Power off your circuit breaker before proceeding. Safety comes first when working with electrical components. Wait a few moments to ensure power is completely cut.
Now peel back the adhesive backing slowly. Start with the plug end of your strip. Press firmly as you go, working section by section along your layout. Avoid stretching the strip or creating air bubbles. If bubbles form, lift gently and reposition.
For corners, follow your marked cutting points. Use sharp scissors and cut only along the copper pads. Never cut through the middle of the strip. After cutting, use connector pieces to join sections if needed.
Consider using aluminum channels instead of relying solely on adhesive backing. These channels provide extra support and protection for your strips. They also make future removal easier if you change your setup.
Once everything is in place, wait several hours before powering on. The adhesive needs time to set properly. This patience prevents strips from peeling away later.
Check your connections one more time. Verify that all plugs sit firmly in their sockets. Make sure no wires are pinched or damaged. Then power on at your circuit breaker and test your installation.
Choosing the Right Mounting Method for Your Space
Your space determines which mounting method works best for your LED strip lights. Different areas have different needs, and choosing wisely prevents installation problems later.
Adhesive backing is the most common option. This method uses the 3M adhesive already attached to your strips. It works well on clean, flat surfaces like walls, ceilings, and cabinet undersides. The adhesive bonds permanently, so make sure your surface is dust free and dry before applying. Wipe the area with a clean cloth first. This simple approach requires no extra tools or hardware.
Mounting clips offer flexibility when you need adjustability. These clips hold your strips securely without permanent adhesion. They work great in rental spaces where you cannot damage walls. Clips also allow you to remove and reposition your strips easily if your design changes. Install the clips first, then slide your strip into place.
Aluminum channels provide the most durable solution. These metal frames hold your strips safely while protecting them from damage. Channels also help distribute heat away from your lights, extending their lifespan. They work especially well in high traffic areas or where your strips might get bumped. Aluminum channels require more installation time but offer superior protection.
Consider your specific location when deciding. Under cabinet installations often work best with adhesive backing since the space is protected. Exposed areas benefit from aluminum channels for durability. Temporary setups use mounting clips effectively.
Test your layout first before committing to any method. Place your strips in position and check how the light looks. Make sure power cables reach your outlet. Verify that your surface is truly flat. This testing step prevents mistakes and saves time during final installation.
Cutting and Connecting Strips Correctly
Cutting your LED strip lights correctly ensures proper function and clean appearance. Always cut at the designated copper pad locations marked on your strip. These pads are the only safe spots to cut without damaging the circuit.
Use sharp scissors or a utility knife for clean cuts. Dull tools create jagged edges that prevent proper connections. Make one smooth cut across the marked line rather than sawing back and forth.
Before cutting, measure twice to avoid mistakes. Mark your cut points with a pencil if needed. This extra step prevents cutting in the wrong spot and wasting material.
When connecting two cut strips together, use connector clips or solder joints. Connector clips slide onto the copper pads without tools. They work well for beginners and allow future adjustments.
Soldering creates permanent connections if you prefer that method. Apply solder carefully to both the pad and wire. Let the joint cool completely before handling.
Clean the copper pads before connecting anything. Dust and dirt prevent good electrical contact. Use a dry cloth to wipe each pad gently.
Check your connections before powering on the system. Loose connections cause flickering or dead sections. Tug gently on each connector to confirm it sits firmly.
Respect the maximum run length for your specific strip type. Running too long causes voltage drop at the far end. Your strip may dim significantly if you exceed the recommended length.
If you need a longer run, use a power supply at the midpoint. This maintains consistent brightness throughout your installation.
Always verify polarity when connecting strips. Reversed connections prevent the lights from working. Match the positive and negative terminals correctly on each connection point.
Common Installation Mistakes and How to Avoid Them
People make several mistakes when installing LED strip lights, and knowing what to avoid saves time and frustration.
Skipping surface preparation is the most common error. Dust, dirt, and oils prevent adhesive from sticking properly. Clean your surface with a dry cloth first, then use rubbing alcohol on a damp cloth. Let it dry completely before peeling the backing.
Cutting in the wrong location causes strips to stop working. You must cut only at the designated copper pad areas marked on your strip. Cutting anywhere else breaks the circuit and ruins that section. Use sharp scissors for clean cuts along these pads.
Overloading your power supply creates safety hazards and premature failure. Your total LED wattage should never exceed 80 percent of your power supply’s maximum rating. Calculate your load before installation to prevent this problem.
Ignoring specifications leads to disappointment. Check brightness (lumens), color temperature, and CRI (color rendering index) before buying. These details matter more than you think for the final result.
Bending strips incorrectly damages internal components. LED strips bend along the marked lines, but forcing them at wrong angles breaks connections. Follow the design lines on your strip carefully.
Mismatching voltage creates flickering or dimming issues. Verify that your power supply matches your strip’s voltage requirement (typically 12V or 24V). Using the wrong voltage damages both components.
Rushing the adhesion process causes strips to peel away. Press firmly along the entire length, holding each section for several seconds. Wait at least two hours before powering on to let adhesive set properly.
Troubleshooting Common LED Strip Light Issues
LED strip lights sometimes fail to work properly after installation. Knowing how to fix common problems saves you time and money.
Lights won’t turn on Check your power supply first. Make sure it connects to a working outlet. Verify the outlet has power by plugging in another device. Next, inspect all connections between the power supply and your strip. Loose connections prevent electricity from flowing. Push connectors firmly into place until they click or seat completely.
Lights are dim or flickering This usually means your power supply is overloaded. Remember that LED load must stay at 80% or less of your power supply’s maximum wattage. Count all the watts your strips use and compare this total to your power supply rating. If you exceed the limit, you need a stronger power supply or fewer strips.
Some sections don’t light up Cuts in the wrong location damage the strip’s circuitry. LED strips only work when you cut along the designated copper pad lines. Inspect where you made cuts and verify they align with these marked areas.
Color looks wrong Check your connections for loose wires. Loose connections sometimes cause color channels to malfunction. Also verify you selected the correct voltage and power supply type for your strip.
Strip peels off the wall Your surface wasn’t clean enough before installation. Dust, dirt, and oils prevent adhesive from sticking properly. If this happens, remove the strip carefully, clean the surface with rubbing alcohol, let it dry completely, and reapply.
Most issues stem from installation mistakes rather than faulty equipment. Double check your work and these problems disappear.
Final Thoughts
Installing LED strip lights becomes simple once you understand the basics. Clean surfaces, correct measurements, and proper power supply make all the difference. These three factors determine whether your project succeeds or fails.
Take time during the planning phase. A mock installation shows you exactly how the strips will look before you commit. This step saves you from costly mistakes later.
Your power supply choice matters more than most people realize. Keep your LED load at or below 80% of the maximum rated wattage. This simple rule prevents overheating and extends the life of your lights.
Choose your mounting method based on your specific needs. 3M adhesive backing works well for temporary or lightweight setups. Aluminum channels offer better durability and heat dissipation for permanent installations.
Don’t rush the process. Each step builds on the previous one, and skipping steps often leads to problems. Patience during installation pays off with reliable performance.
Remember to check component specifications before you start. Brightness levels, color temperature, and CRI ratings all affect how your finished project looks. Matching these specs to your space creates the best results.
Small details make big differences with LED strip lights. A clean cut, a secure connection, and a well prepared surface all contribute to a lasting installation.
Practice makes this process easier over time. Your first installation might take longer than expected, but each project teaches you something new.
With the right preparation and attention to detail, your LED strip lights will function properly and look great for years to come. The effort you put into proper installation now saves you time and frustration later.
Frequently Asked Questions
Can I install LED strip lights on any surface?
No. LED strips only stick well to clean, flat surfaces. Dust, dirt, or uneven areas prevent proper adhesion. Wipe your surface with a dry cloth before peeling the backing. Rough or textured walls need preparation first. Curved surfaces may require mounting clips or aluminum channels instead of adhesive backing.
What’s the maximum length I can run LED strips?
Each strip type has its own maximum run length. Check your product specifications before installation. If you need a longer distance, you must use a power supply at the midpoint. This prevents voltage drops that cause dimming or color issues.
How do I know if my power supply is strong enough?
Your LED load must stay at 80% or less of your power supply’s maximum wattage. Calculate the total wattage of all your strips combined. If this number exceeds 80% of your supply’s rating, you need a larger power supply. Overloading creates safety hazards and damages equipment faster.
Where should I cut my LED strips?
Cut only at the designated copper pad locations. These appear as small circles on the strip. Cutting anywhere else breaks the internal circuitry and stops that section from working. Use sharp scissors for clean, precise cuts along the pads.
Is adhesive backing or mounting clips better?
Both work, but it depends on your situation. Adhesive backing works fast for smooth, clean surfaces. Mounting clips and aluminum channels last longer and handle temperature changes better. Aluminum channels also protect your strips from damage and heat buildup.

DK is the founder and lead writer at Smart Lighting Finds, where he helps readers discover the best lighting products through honest, hands-on reviews and in-depth comparisons. With a deep passion for home improvement and smart technology, DK is dedicated to making every lighting decision easier and brighter for his readers.