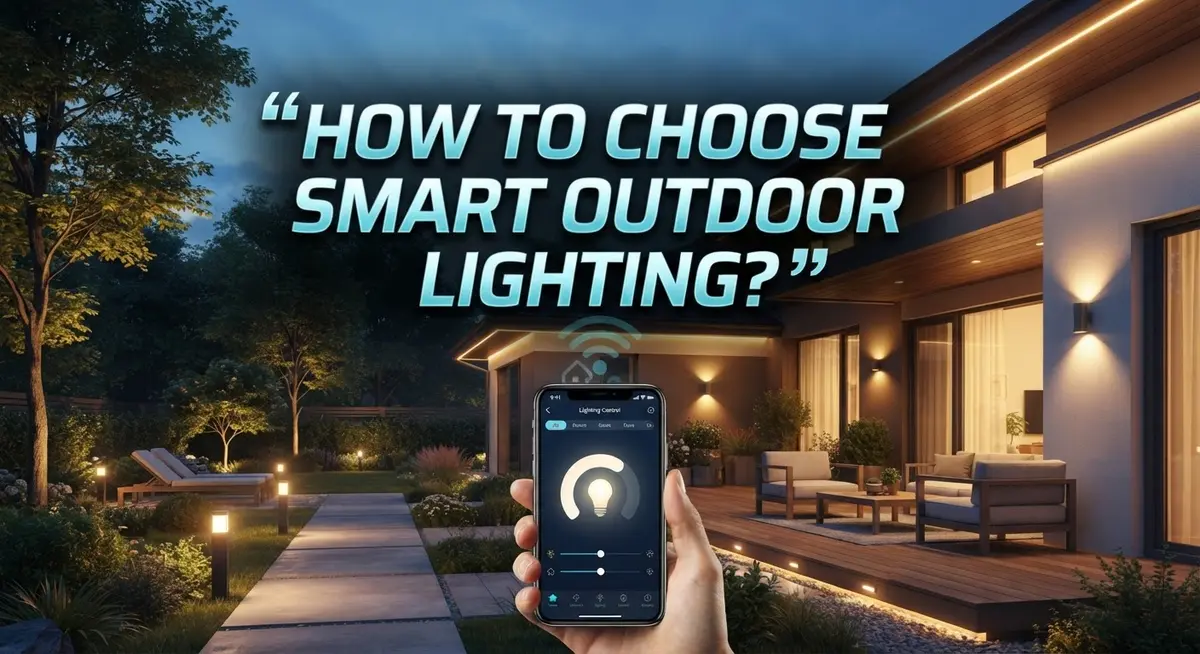
How to Choose Smart Outdoor Lighting?
Smart outdoor lighting changes how your home looks and feels at night. It adds safety, style, and comfort to your outdoor spaces.
But choosing the right system can feel tricky. There are so many options like string lights, spotlights, path lights, and solar fixtures.
You also need to think about wiring, weather resistance, and placement. Line voltage and low voltage systems each have their own rules. Picking the wrong one can lead to costly mistakes.
This guide will walk you through everything you need to know. You will learn how to plan your layout and measure cable lengths. You will also discover how to inspect wiring and choose weather resistant fixtures.
We will cover how to match your lighting to your home’s style. You will find tips on avoiding common mistakes like over-lighting or poor positioning.
By the end, you will know how to create a balanced, energy efficient outdoor lighting setup. You will feel confident picking fixtures that look great and last long.
Let’s get started on lighting up your outdoor space the smart way.
In a Nutshell
Here’s a quick recap to help you choose the best smart outdoor lighting for your home.
- Know your fixture types. Choose from string lights, spotlights, path lights, rope lights, hardwired options, or solar. Each type fits different needs and spaces.
- Understand voltage differences. Line voltage and low voltage systems work differently. This affects your planning and installation process.
- Plan before you install. Measure cable lengths and inspect all wiring first. This step saves time and prevents mistakes later.
- Pick weather resistant fixtures. Outdoor lights face rain, wind, and sun. Weak materials fail faster and cost more over time.
- Follow the “less is more” rule. Highlight three to five focal points instead of lighting everything. This creates a balanced, elegant look.
- Avoid common mistakes. Skip over-lighting, poor aiming, and mismatched styles. Also check your transformer has enough capacity for your setup.
Keep these points in mind as you move forward. They will guide your choices at every step.
Understanding Smart Outdoor Lighting Systems
Smart outdoor lighting systems combine bulbs, switches, hubs, and mobile apps to control your outdoor lights. Understanding how these components work together helps you make a smart choice for your home.
Line voltage and low voltage are the two main power options. Line voltage systems connect directly to your home’s electrical wiring at 120 volts. They work for larger areas and permanent installations. Low voltage systems use a transformer to reduce power to 12 or 24 volts. These systems are safer for DIY projects and easier to install in tight spaces.
Smart systems let you control lights from your phone, set schedules, and adjust brightness. Some use a hub that connects to your home’s WiFi network. Others work through direct app control or voice commands. You can turn lights on at sunset and off at midnight without manual switches.
Weather resistance matters greatly for outdoor fixtures. Look for lights rated for moisture, UV exposure, and temperature changes. Materials like stainless steel, aluminum, and marine grade plastics resist rust and corrosion. Sealed connections prevent water from damaging electrical components.
Power sources affect your installation plan. Hardwired systems tap into existing electrical circuits. Solar options need sunny placement but avoid digging trenches. Battery powered lights offer flexibility but need regular charging or battery replacement.
Placement determines how well your lights perform. Position lights at night to see exactly where shadows fall and where you need more illumination. Aim spotlights toward focal points like trees, patios, or entryways. Use path lights to guide movement along walkways safely.
Smart features add convenience to outdoor lighting. Timers turn lights on and off automatically. Dimming options save energy and create different moods. Color changing bulbs let you adjust the light tone from warm to cool. Motion sensors activate lights only when needed, reducing energy waste and improving security.
Types of Smart Outdoor Lighting to Consider
Smart outdoor lighting comes in six main types, each serving different purposes and fitting different spaces.
String lights hang between posts, trees, or structures. They create a warm, festive atmosphere and work well for patios, decks, and garden areas. String lights come in various bulb styles and can be controlled remotely through smart apps.
Spotlights focus bright light on specific features like plants, architectural details, or artwork. They use concentrated beams to highlight focal points without lighting the entire yard. Spotlights work best when you want dramatic accent lighting.
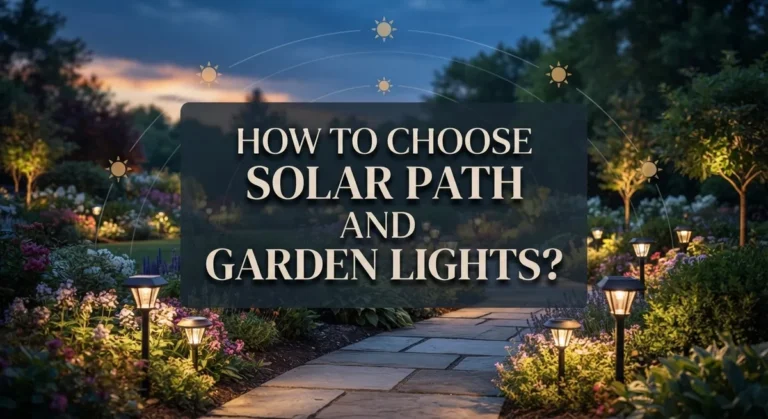
Path lights sit low to the ground and guide people safely along walkways, driveways, and garden paths. These lights improve safety while adding subtle illumination. Path lights typically use less energy than larger fixtures.
Rope lights are flexible tubes filled with LED bulbs that bend around curves and corners. You can wrap them around railings, fence lines, or landscape features. Rope lights offer creative design options for unique outdoor spaces.
Hardwired systems connect directly to your home’s electrical wiring. An electrician typically installs these permanent fixtures. Hardwired lights provide reliable power without battery concerns and often include smart controls.
Solar lights charge during the day using sunlight and operate at night without drawing electricity. They work independently without wiring or power sources. Solar options suit areas where running cables is difficult or impossible.
Each type has different brightness levels, energy use, and installation requirements. Consider your yard layout first, then match the lighting type to your needs. Some yards benefit from combining multiple types. String lights might create ambiance on a patio while path lights guide people safely to your front door. Spotlights can highlight landscaping features you want to showcase.
Think about where you need light most, then select fixtures that serve those specific purposes effectively.
Line Voltage vs. Low Voltage: What You Need to Know
Line voltage and low voltage systems represent two distinct electrical approaches for outdoor lighting. Understanding the differences helps you pick the right setup for your home.
Line voltage systems run at standard household current, typically 120 volts in North America. These systems connect directly to your home’s main electrical panel or outdoor outlets. Line voltage fixtures deliver bright, powerful light and work well for large areas like patios, decks, and driveways. Installation requires a licensed electrician because you’re working with the same electricity that powers your home’s appliances.
Low voltage systems operate at 12 or 24 volts. A transformer steps down power from standard line voltage to this lower level. Low voltage setups are safer to install yourself because the reduced electrical current poses minimal shock risk. These systems work perfectly for accent lighting, path lights, and decorative string lights around smaller spaces.
Here’s what matters most: Line voltage offers superior brightness and covers larger distances without power loss. However, it demands professional installation and careful planning around existing electrical infrastructure. Low voltage systems are easier to install, safer to work with, and flexible for repositioning. The tradeoff is that they work best for accent lighting rather than primary illumination.
Cost considerations differ between the two. Line voltage requires upfront electrician fees but minimal ongoing maintenance. Low voltage has lower installation costs but needs transformer replacement occasionally and covers smaller areas.
Weather resistance applies to both types equally. Choose fixtures rated for outdoor use regardless of voltage. Both systems can integrate with smart controls, timers, and automation features.
Your choice depends on your space size, budget, and installation comfort level. Large properties with extensive lighting needs often benefit from line voltage. Smaller yards, patios, and accent lighting projects suit low voltage better. Many homeowners use both systems together, combining line voltage for main areas and low voltage for decorative touches.
Step-by-Step: Planning Your Outdoor Lighting Layout
Start by walking around your outdoor space at different times of day. Notice where shadows fall and where you need light most. Mark these spots on a simple sketch or take photos. This helps you avoid over lighting and wasting energy.
Next, measure the distances between potential light locations. Know how far apart your fixtures will be. This matters because it affects brightness levels and power requirements. Use a measuring tape and write down the distances. You’ll need these numbers later when selecting fixtures and cables.
Consider your home’s architectural style and landscaping. Modern homes might suit clean lined fixtures, while traditional homes look better with classic designs. Your lights should complement what’s already there, not clash with it.
Think about traffic patterns on your property. Where do people walk? Where do cars drive? These areas need path lighting for safety. Accent lighting can highlight gardens, trees, or water features as secondary priorities.
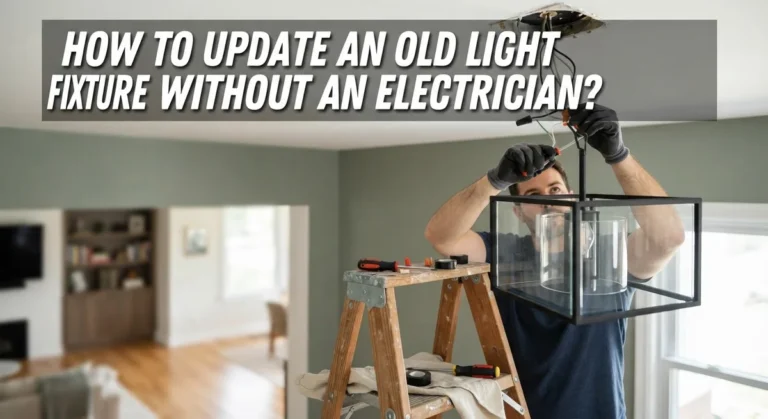
Identify your power sources next. Do you have outdoor outlets already? Will you need to run new wiring? Solar options eliminate wiring concerns but work best in sunny locations. Line voltage systems need professional installation in most cases, while low voltage systems are often simpler to install yourself.
Create zones in your layout. Separate your yard into sections like entry area, patio, garden, and driveway. Each zone can have different lighting purposes. The entry needs welcoming light. The patio needs enough brightness for entertaining. Garden areas work well with accent lighting.
Test your plan before buying anything. Use flashlights or temporary lights to see how your layout feels at night. Adjust positions based on what you observe. This prevents expensive mistakes and ensures your final system meets your actual needs, not just your initial ideas.
Matching Lighting Style to Your Home’s Architecture
Your home’s architecture tells a story. Smart outdoor lighting should echo that story, not fight against it. When you match your lighting style to your home’s design, the entire space feels intentional and polished.
Start by identifying your home’s architectural style. Is it modern and minimalist? Traditional and classic? Rustic and farmhouse? Mediterranean? Each style has natural lighting partners. Modern homes often pair well with sleek, geometric fixtures and clean lines. Traditional homes benefit from fixtures with ornate details or vintage charm.
Consider your home’s materials and colors next. A brick colonial looks different from a glass and steel contemporary. Stone facades work beautifully with warm, amber lighting. Light colored stucco homes shine with crisp, white light. Your fixtures should complement these existing elements, not clash with them.
Look at your roof line and exterior trim. These architectural features guide where light should go. Uplighting along architectural details draws the eye upward and emphasizes your home’s best features. Downlighting from eaves creates soft pools of illumination below. Match your fixture style to these existing lines and angles.
Pay attention to your landscaping too. A home surrounded by formal hedges calls for structured, symmetrical lighting. A cottage garden thrives with softer, more organic light placement. Your landscape design and your lighting design should speak the same language.
The color temperature matters enormously. Warm white light (2700K) feels inviting and traditional. Cool white light (4000K) feels modern and crisp. Very cool light (5000K) can feel harsh on most homes. Choose a temperature that complements your home’s overall warmth or coolness.
Finally, less is always more. Accent three to five focal points rather than lighting everything. A well lit entrance, a few landscape features, and maybe a pathway create impact. Overlit yards feel commercial and lose their charm. Your goal is to enhance your home’s character, not transform it into something it isn’t.
Tips for Effective Placement and Energy Efficiency
Effective placement determines how well your outdoor lighting performs. Start by identifying what you want to highlight: entryways, garden beds, patios, or architectural features. Position lights to create layers of illumination rather than one bright wash across your yard.
Downlighting works best for security. Mount fixtures high on your home or trees, directing light downward to illuminate pathways and entrances. This approach mimics natural moonlight and feels welcoming. Uplighting adds drama by shining light upward on trees, walls, or sculptures. Use this technique sparingly to avoid creating harsh shadows.
Path lighting serves a practical purpose. Space these fixtures 4 to 6 feet apart along walkways and driveways. They guide foot traffic safely while consuming minimal energy. Position them low to the ground and aim them downward to prevent glare in neighbors’ eyes.
Energy efficiency starts with smart placement decisions. Avoid lighting empty areas of your yard. Focus on zones where you spend time or need visibility. Motion sensors reduce waste by activating lights only when someone approaches. Timers turn lights off automatically at dawn or after set hours.
Consider light spread patterns before installation. Test fixture angles at night to confirm they reach intended areas without overshooting. Aim spotlights at 45 degree angles for balanced coverage. Reflective surfaces behind fixtures amplify brightness without adding more bulbs.
Weather affects placement too. Position fixtures away from areas where water pools or drains accumulate. Ensure adequate clearance around vents and air conditioning units. Mount lights securely so wind and vibrations don’t shift their angle over time.
Start small with placement. Add lights gradually rather than installing everything at once. This approach lets you observe how different positions perform through seasons. You’ll spot problem areas like excessive glare or insufficient coverage before committing to permanent installations.
Common Mistakes to Avoid When Choosing Smart Outdoor Lighting
Many people make costly mistakes when selecting smart outdoor lighting. Understanding these errors helps you avoid wasting money and frustration.
Over lighting is the most common problem. Homeowners often install too many lights thinking more brightness equals better security. This approach wastes energy and creates harsh shadows. Your outdoor space needs accent lighting, not a stadium setup. Focus on key areas like entryways, pathways, and focal points instead.
Another frequent mistake is choosing fixtures without checking weather resistance ratings. Outdoor lights face rain, wind, temperature swings, and UV exposure. Non-rated fixtures fail quickly and become safety hazards. Always verify that products have proper outdoor certifications before purchasing.
Poor light positioning causes many installations to underperform. Lights aimed incorrectly create glare, miss target areas, or illuminate the wrong zones. Test your lighting at night before finalizing placement. What looks good during daylight often performs poorly after dark.
Mismatched fixtures are another pitfall. Choosing lights that clash with your home’s style creates visual discord. A modern minimalist home needs different fixtures than a traditional colonial. Take time to match your lighting aesthetic to your architecture.
Inadequate power planning leads to system failures. Many people underestimate transformer capacity or place power sources too far away. Calculate your total power needs before installation. Measure cable distances carefully to prevent voltage drops.
Leaving lights on constantly drains energy and shortens bulb life. Smart systems let you automate schedules, but many users forget to set timers. Use automation features to turn lights off during daylight hours.
Finally, rushing the selection process causes regret. Take time to plan your layout, measure distances, and research options. Walk your property at different times to identify real lighting needs. Patience during planning prevents expensive mistakes later.
Final Thoughts
Choosing smart outdoor lighting does not need to feel overwhelming. Simple planning makes all the difference between a setup you love and one you regret.
Start with your goals. Ask yourself what you want lighting to achieve. Security, ambiance, and safety all require different approaches.
Remember that your home’s style should guide every choice you make. Lighting that matches your architecture always looks more polished than random fixture picks.
Weather resistance deserves your attention too. Outdoor fixtures face rain, heat, and cold all year long. Skipping this check often leads to early failures.
Think about power sources before you buy anything. Line voltage and low voltage systems work differently. Your transformer must handle your total lighting load.
Placement matters just as much as fixture choice. Position lights to highlight key features without creating harsh glare. Test your setup at night before finalizing anything.
Smart features add real value here. Apps and hubs let you control timing, brightness, and schedules easily. This convenience also supports better energy efficiency.
Avoid the trap of buying everything at once. Start with a few key areas and expand gradually. This approach saves money and prevents costly mistakes.
Check warranties and maintenance needs before purchasing. Reliable support saves you time and frustration later on.
Finally, trust your instincts and take your time. Rushed decisions often lead to mismatched or ineffective lighting. A thoughtful approach always pays off.
Smart outdoor lighting combines function and beauty when done right. It boosts your home’s curb appeal while keeping your family safe. It also gives you control right from your phone.
Take these steps seriously, and your outdoor space will shine, literally and figuratively, for years to come.
Frequently Asked Questions
What’s the difference between line voltage and low voltage outdoor lighting?
Line voltage systems connect directly to your home’s electrical panel. They run at 120 volts and power larger fixtures like spotlights and hardwired installations. Low voltage systems use a transformer to reduce power to 12 or 24 volts. They’re safer to install and work well for string lights, path lights, and rope lights.
Choose line voltage for permanent, high-brightness needs. Pick low voltage for flexibility and easier DIY installation.
How do I know if my fixtures can handle outdoor weather?
Check the product specifications for an IP rating or weather resistance label. IP65 or higher ratings mean the fixture resists dust and water spray. Look for materials like stainless steel, aluminum, or marine-grade plastics. Avoid fixtures labeled “indoor only” or without weather ratings.
Test fixtures in your climate before committing to many units. Winter frost, summer heat, and humidity all affect performance.
Should I use a hub or connect lights directly to my phone?
Hubs act as a central control point for multiple lights. They offer better reliability, faster response times, and wider coverage than direct connections. Direct phone connections work fine for small setups with just a few lights.
Hubs become essential when you plan to expand your system later. They also let you automate schedules and create scenes more easily.
What’s the best way to plan my lighting layout?
Measure your yard and identify 3 to 5 focal points like patios, pathways, or garden features. Sketch where you want accent lighting, security lighting, and path lighting. Consider your home’s architectural style when choosing fixture types and finishes.
Start small and add lights gradually. This approach lets you see results before investing in a full system.

DK is the founder and lead writer at Smart Lighting Finds, where he helps readers discover the best lighting products through honest, hands-on reviews and in-depth comparisons. With a deep passion for home improvement and smart technology, DK is dedicated to making every lighting decision easier and brighter for his readers.